スケジュール
セットアップ状況
ELK Stackのインストール状況
- [x] elasticsearch-m1
- [x] elasticsearch-m2
- [x] elasticsearch-j1
- [x] elasticsearch-j2
次回以降やること
- [x] elasticsearch-m2の構築
- [x] 全てのノードのチューニング
- [x] パーティション構成の修正
- [x] クラスタ構成
- [x] HA化(keepalived)
- [x] syslogのfilebeatによる転送と処理
- [x] Kibanaで可視化
HW要件
- メモリ: 8GB以上
- CPU: 2-8コア
- ストレージ: SSDのような早いやつを使う(15k RPM)
Elasticsearch: The Definitive Guide [2.x]
Elasticsearchとは
Elasticsearchは、様々なユースケースを解決する分散型RESTful検索/分析エンジンです。 予期した結果や、そうでないものも検索できるようにデータを集めて格納するElastic Stackのコア製品です。
Elasticsearch | 分散型RESTful検索/分析エンジン | Elastic
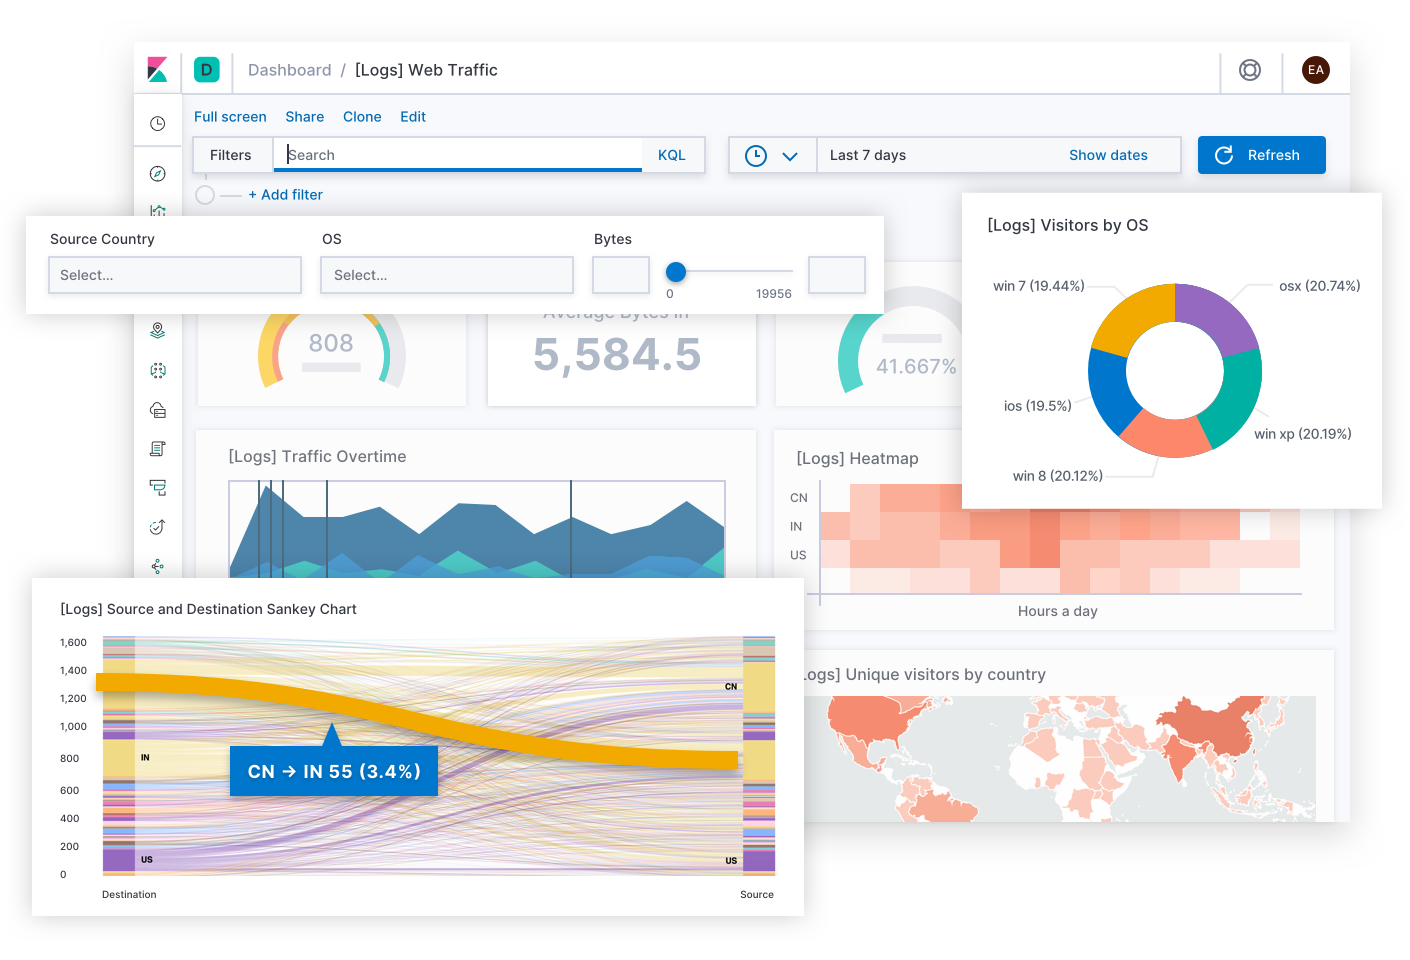
Kibanaとは

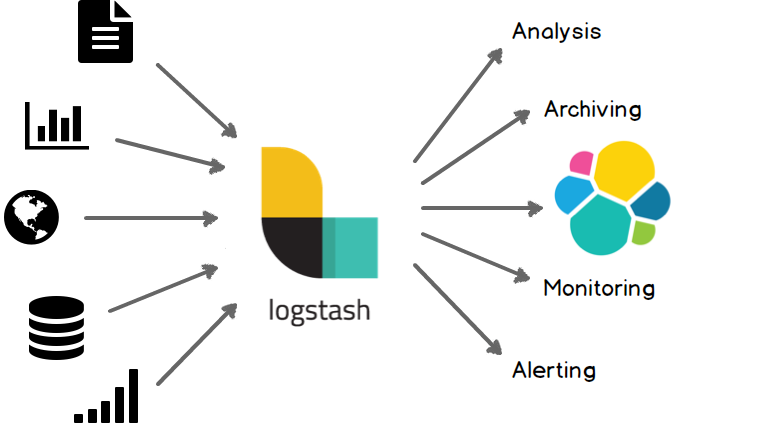
Logstashとは
Logstashの紹介 | Logstashリファレンス [5.4] | Elastic
ELK Stack
Elasticsearch + Logstash + Kibanaによる組み合わせはELK Stackと呼ばれる。Logstashの代わりにFluentdを使うEFK Stackもある。

Elasticsearchのインストール
Elasticsearchの PGP Keyを追加
wget -qO - https://artifacts.elastic.co/GPG-KEY-elasticsearch | sudo apt-key add -
APTリポジトリ導入
sudo apt-get install apt-transport-https
リポジトリ設定を保存
echo "deb https://artifacts.elastic.co/packages/7.x/apt stable main" | sudo tee -a /etc/apt/sources.list.d/elastic-7.x.list
パッケージのインストール
sudo apt-get update && sudo apt-get install elasticsearch
Elasticsearchの永続化
sudo systemctl daemon-reload
sudo systemctl enable elasticsearch.service
起動
sudo systemctl start elasticsearch.service
確認
curl -s http://127.0.0.1:9200/
See also: https://www.elastic.co/guide/en/elasticsearch/reference/current/deb.html
Kibanaのインストール
インストール
sudo apt install kibana
永続化
sudo systemctl daemon-reload
sudo systemctl enable kibana.service
アクセス制御の変更
cd /etc/kibana
sudo cp kibana.yml kibana.yml.org
sudo vim kibana.yml
設定の変更
# server.host:
server.host: 0.0.0.0
起動
sudo systemctl start kibana.service
確認
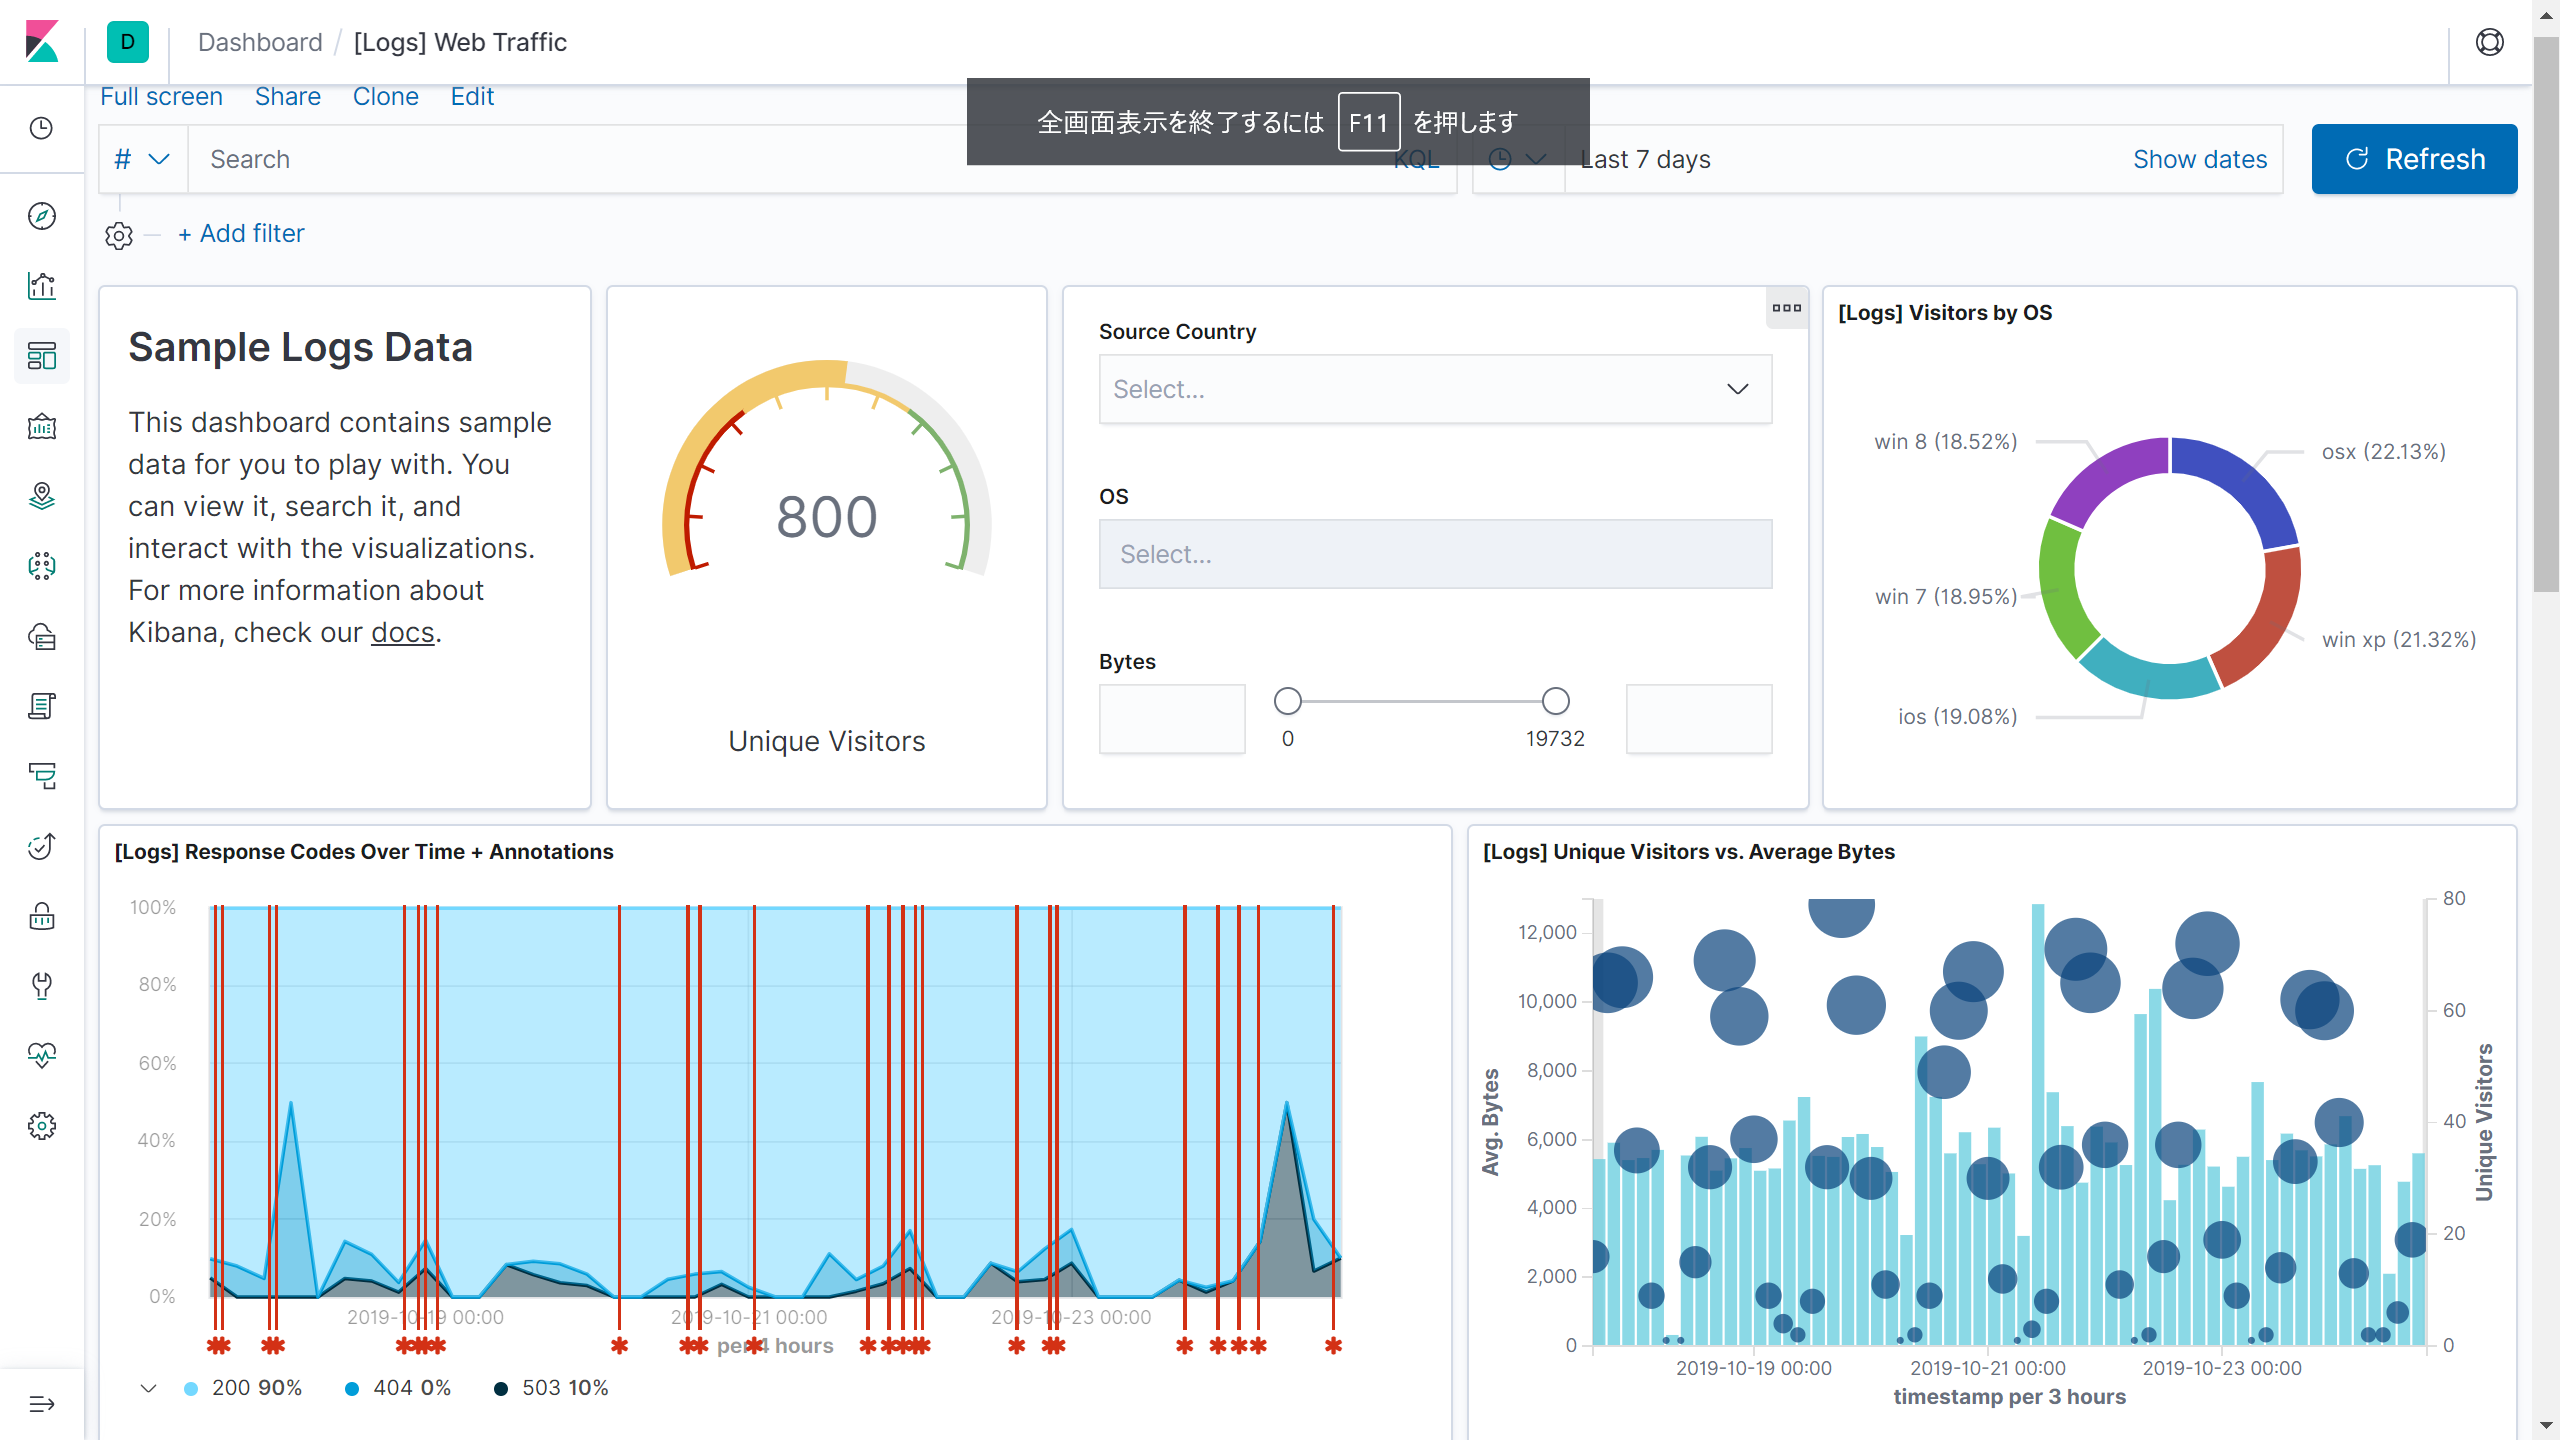
ブラウザから http://HOSTNAME:5601/ へアクセス
ウィザートを進めていくとサンプルデータを投入するか確認がある。好きなサンプルデータを選んでDashboardを表示すると以下のようなページが表示される。
See also: https://www.elastic.co/guide/en/kibana/current/deb.html
Logstashのインストール
Java環境の構築
今回はOpenJDKを使う。
sudo apt install openjdk-11-jre
Javaが動くか確認
java -version
インストール
sudo apt install logstash
起動
sudo systemctl daemon-reload
sudo systemctl start logstash.service
永続化
sudo systemctl enable logstash.service
See also: https://www.elastic.co/guide/en/logstash/current/installing-logstash.html
再起動試験
これまでの設定が正しく出来ているか確認するため、再起動を行う。
sudo reboot
再起動後にサービスが起動してくるか確認する。
チューニング
Elasticsearch
参考
- https://www.elastic.co/guide/en/elasticsearch/reference/current/system-config.html
- https://www.elastic.co/guide/en/elasticsearch/reference/current/important-settings.html
Swapの無効化
sudo swapoff -a
カーネルパラメータをセット
sudo bash -c 'echo "vm.swappiness=1" >> /etc/sysctl.conf'
elasticsearch.ymlへ以下の設定を記述
bootstrap.memory_lock: true
適用されているかチェック
curl -X GET "localhost:9200/_nodes?filter_path=**.mlockall&pretty"
false でダメなはずなので...
http://kakakazuma.hatenablog.com/entry/2015/03/12/015504
systemdのserviceファイルを修正
sudo systemctl edit elasticsearch.service
以下を貼り付ける
[Service]
LimitMEMLOCK=infinity
systemdに読み込ませる
sudo systemctl daemon-reload
sudo systemctl restart elasticsearch
再びCurlを実行
$ curl -X GET "localhost:9200/_nodes?filter_path=**.mlockall&pretty"
{
  "nodes" : {
    "XxasrrXVQBOETv71jzXqPQ" : {
      "process" : {
        "mlockall" : true
      }
    }
  }
}
true になっていればOK
Javaヒープサイズの変更
メモリの50%分のメモリを指定する.
-Xms6g
-Xmx6g
Setting the heap size | Elasticsearch Reference [7.4] | Elastic
Logstash
Javaヒープサイズの変更する.
-Xms4g
-Xmx4g
Elasticsearchの設定:クラスタリング
作業をまとめてやるなら以下のツールが便利.
greymd/tmux-xpanes: Awesome tmux-based terminal divider
xpanes -c "ssh cdsl@{}" elasticsearch-m1 elasticsearch-m2 elasticsearch-j1 elasticsearch-j2
クラスタの構築
クラスタ名の変更:
cluster.name: logging-prod
https://www.elastic.co/guide/en/elasticsearch/reference/current/cluster.name.html
ノード名の変更:
node.name: node-1
https://www.elastic.co/guide/en/elasticsearch/reference/current/node.name.html
クラスタを構成するノード設定:
network.host: 192.168.1.10
https://www.elastic.co/guide/en/elasticsearch/reference/current/network.host.html
その他:
https://www.elastic.co/guide/en/elasticsearch/reference/current/important-settings.html
クラスタへのノード追加:
https://www.elastic.co/guide/en/elasticsearch/reference/current/add-elasticsearch-nodes.html
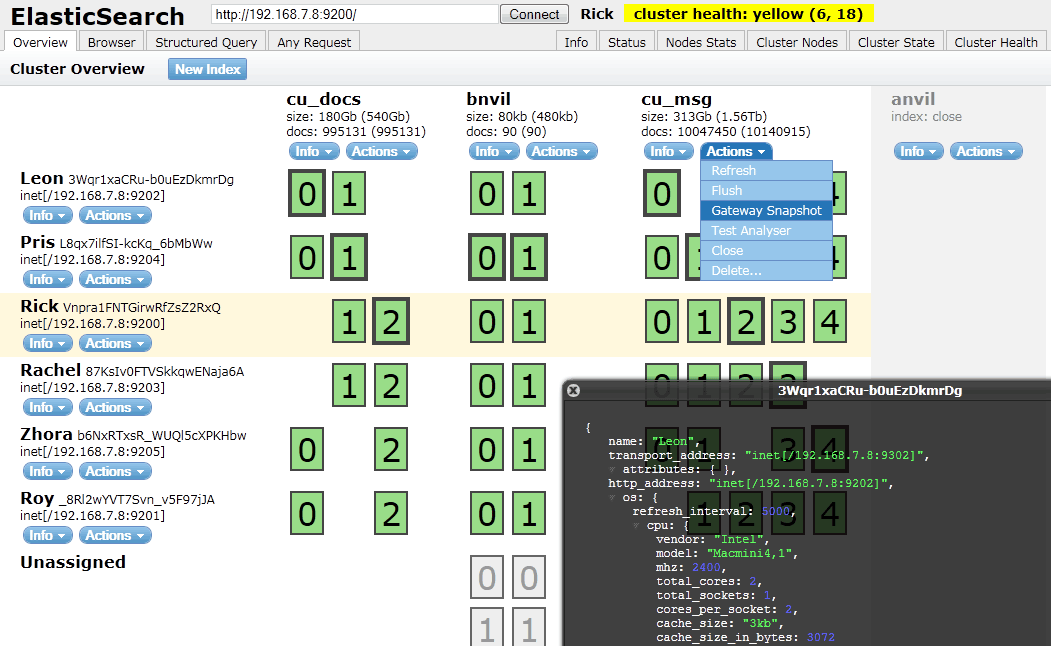
クラスタの確認
以下のプラグインが便利
mobz/elasticsearch-head: A web front end for an elastic search cluster
Filebeatのインストール
PGP Keyを追加
wget -qO - https://artifacts.elastic.co/GPG-KEY-elasticsearch | sudo apt-key add -
APTリポジトリ導入
sudo apt-get install apt-transport-https
リポジトリ設定を保存
echo "deb https://artifacts.elastic.co/packages/7.x/apt stable main" | sudo tee -a /etc/apt/sources.list.d/elastic-7.x.list
パッケージのインストール
sudo apt-get update && sudo apt-get install filebeat